How to integrate a Kimonix campaign with a Yotpo campaign

Miriam from Kimonix
Last Update 2 anni fa
Pre-requisites:
- Have a Shopify store with the Kimonix Shopify app installed.
- Start a plan that includes "personalized email campaigns".
Steps:
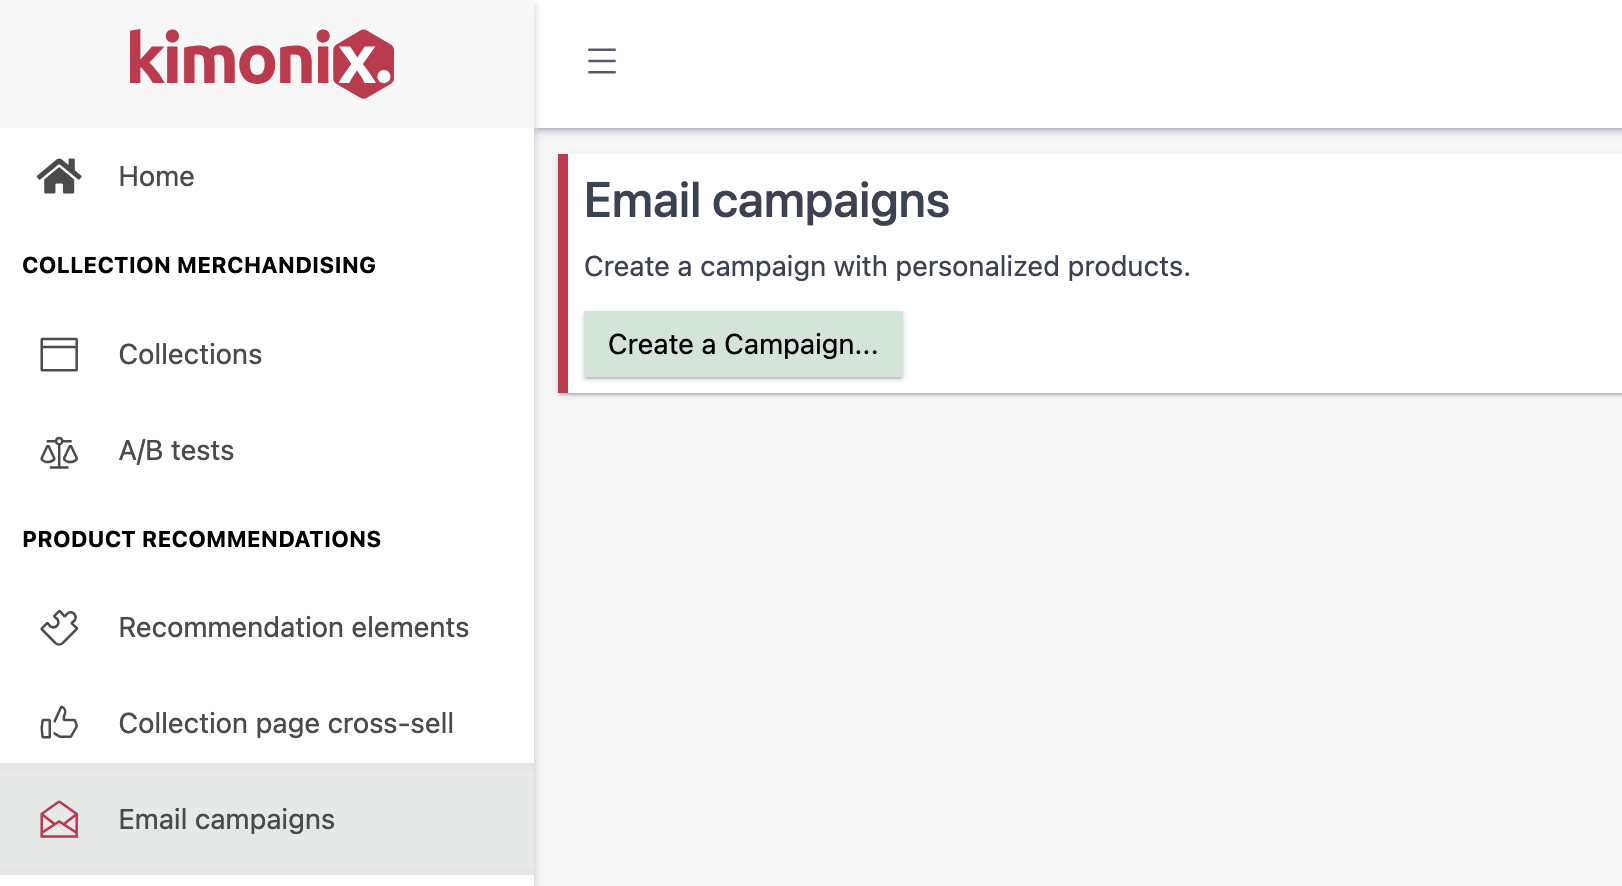
In the Kimonix app's Email campaigns page, Create a campaign:
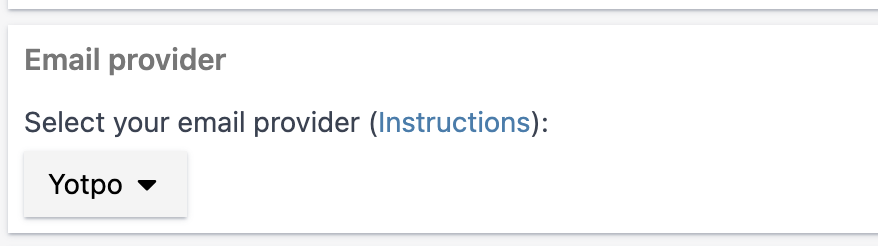
Select Yotpo as your Email provider, If not already selected.
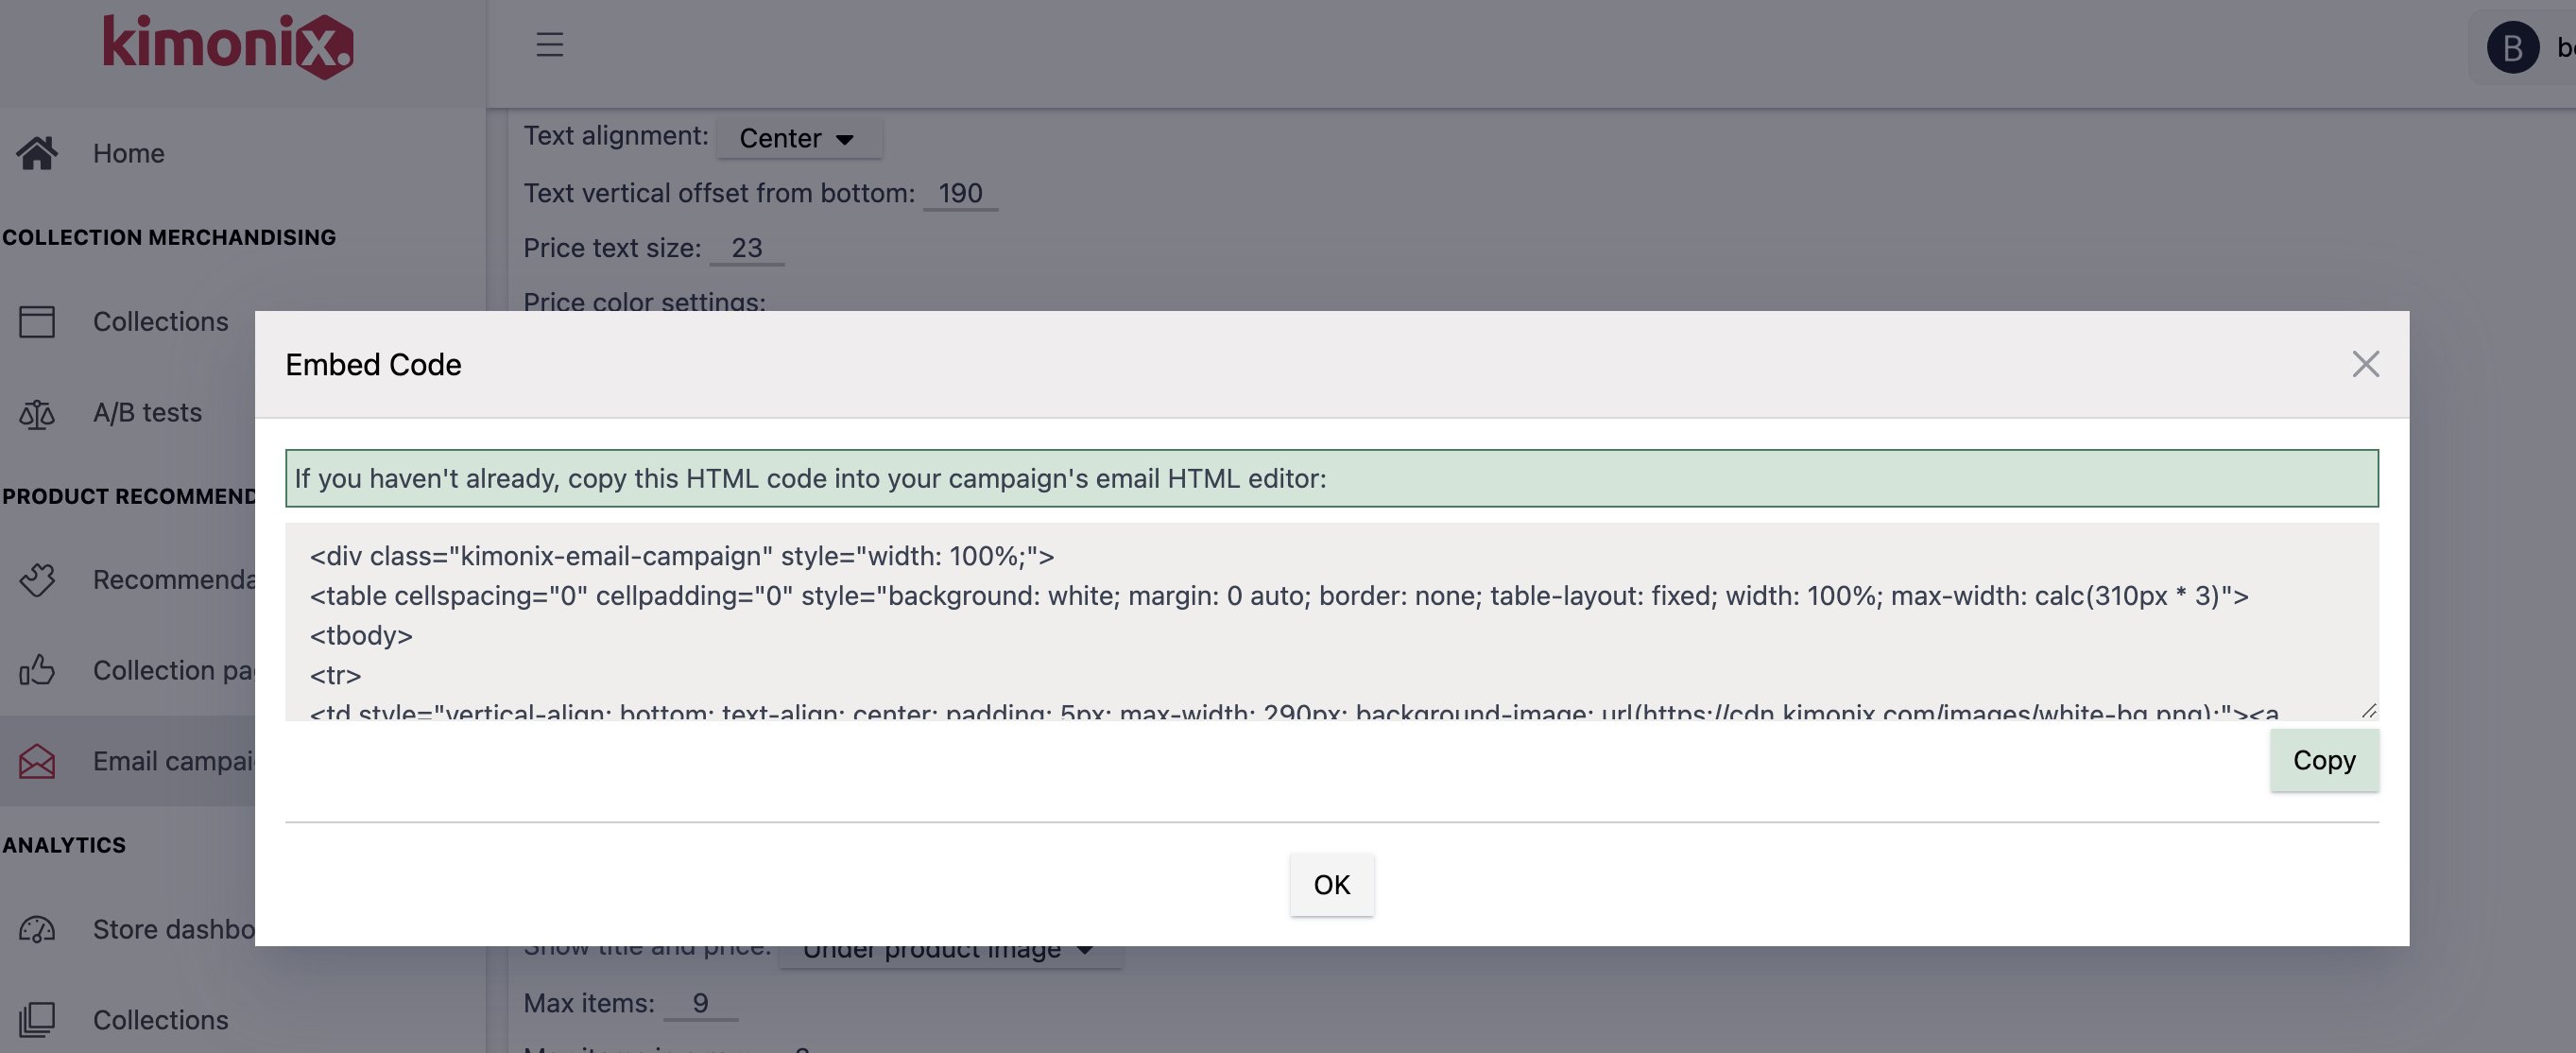
Press Save > OK (on the preview) > copy the HTML code:
- On Yotpo SMS & Email, create a new campaign or edit an existing draft campaign.
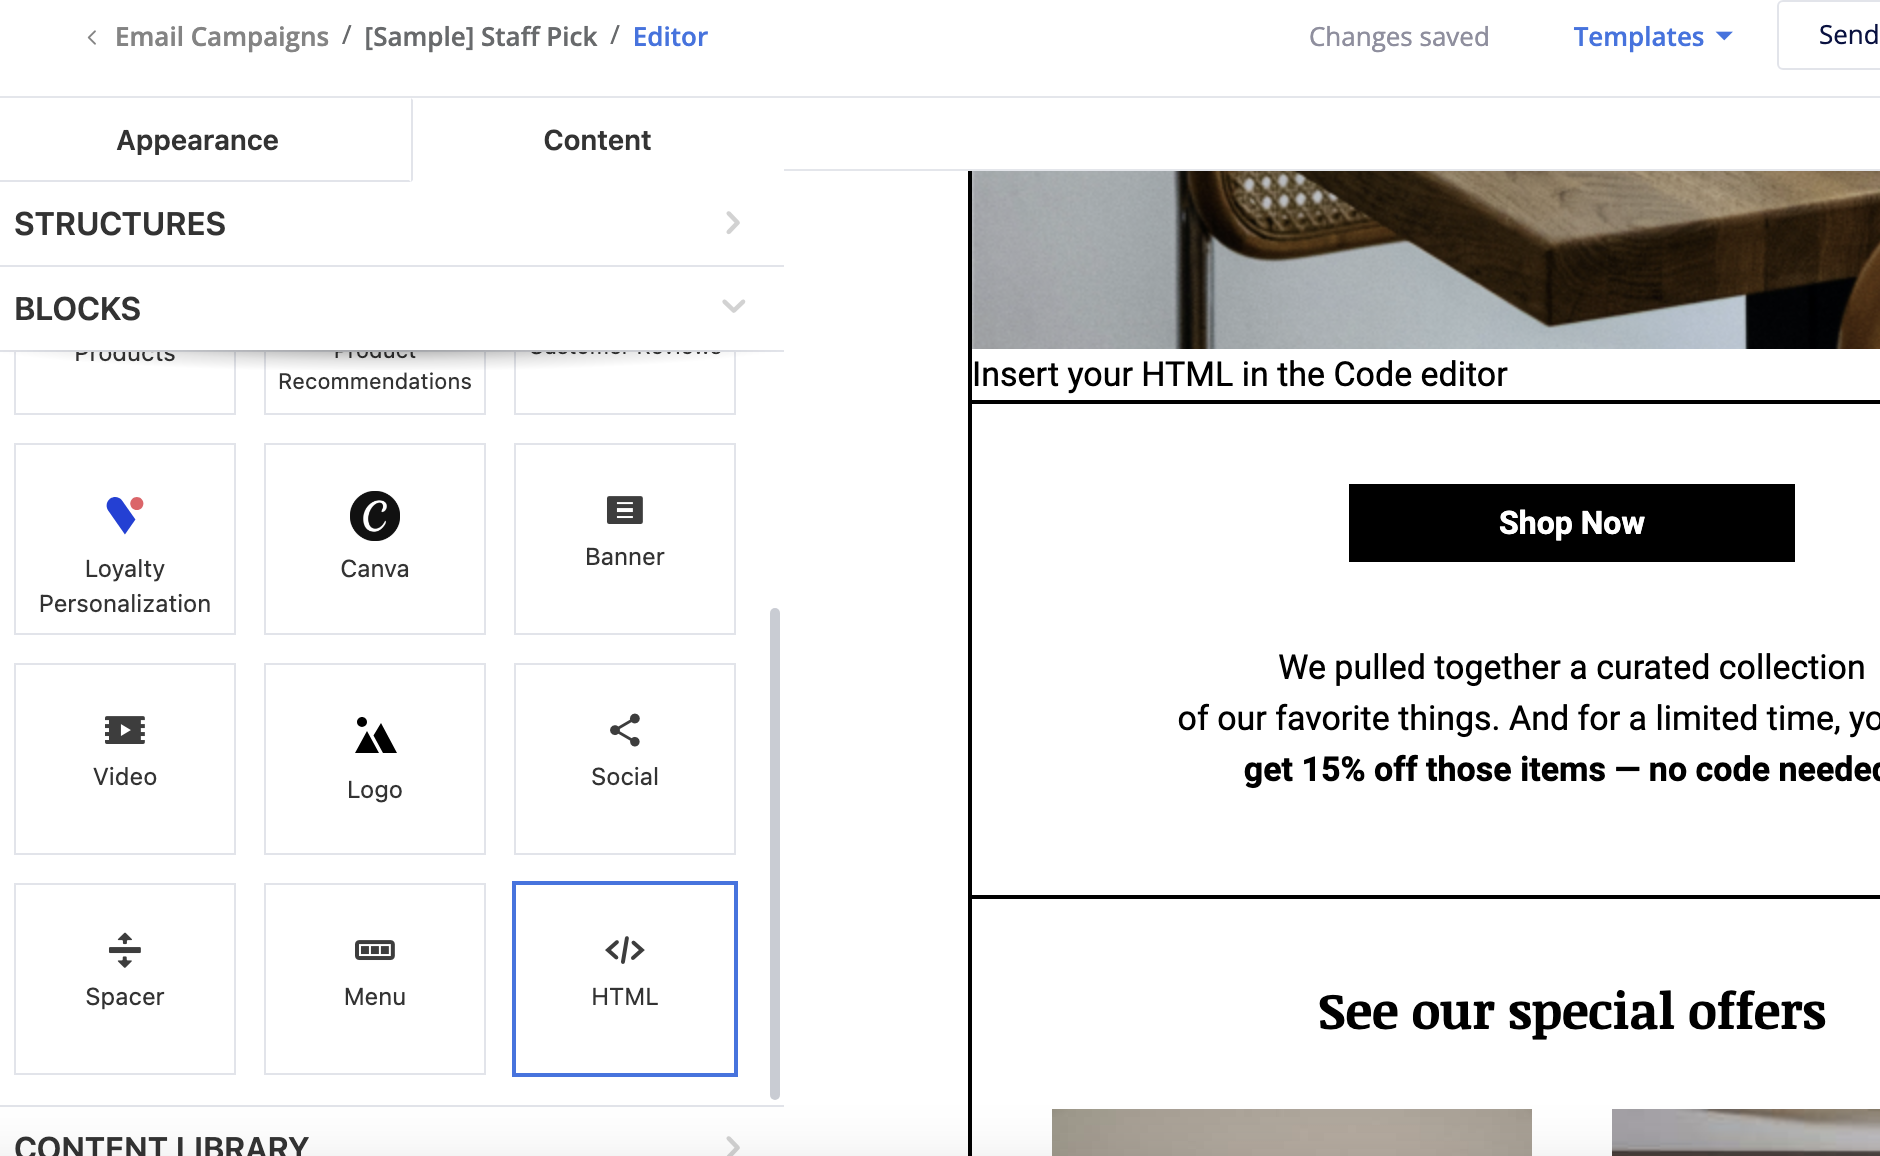
- Under the "Email content" part, Press "Edit content".
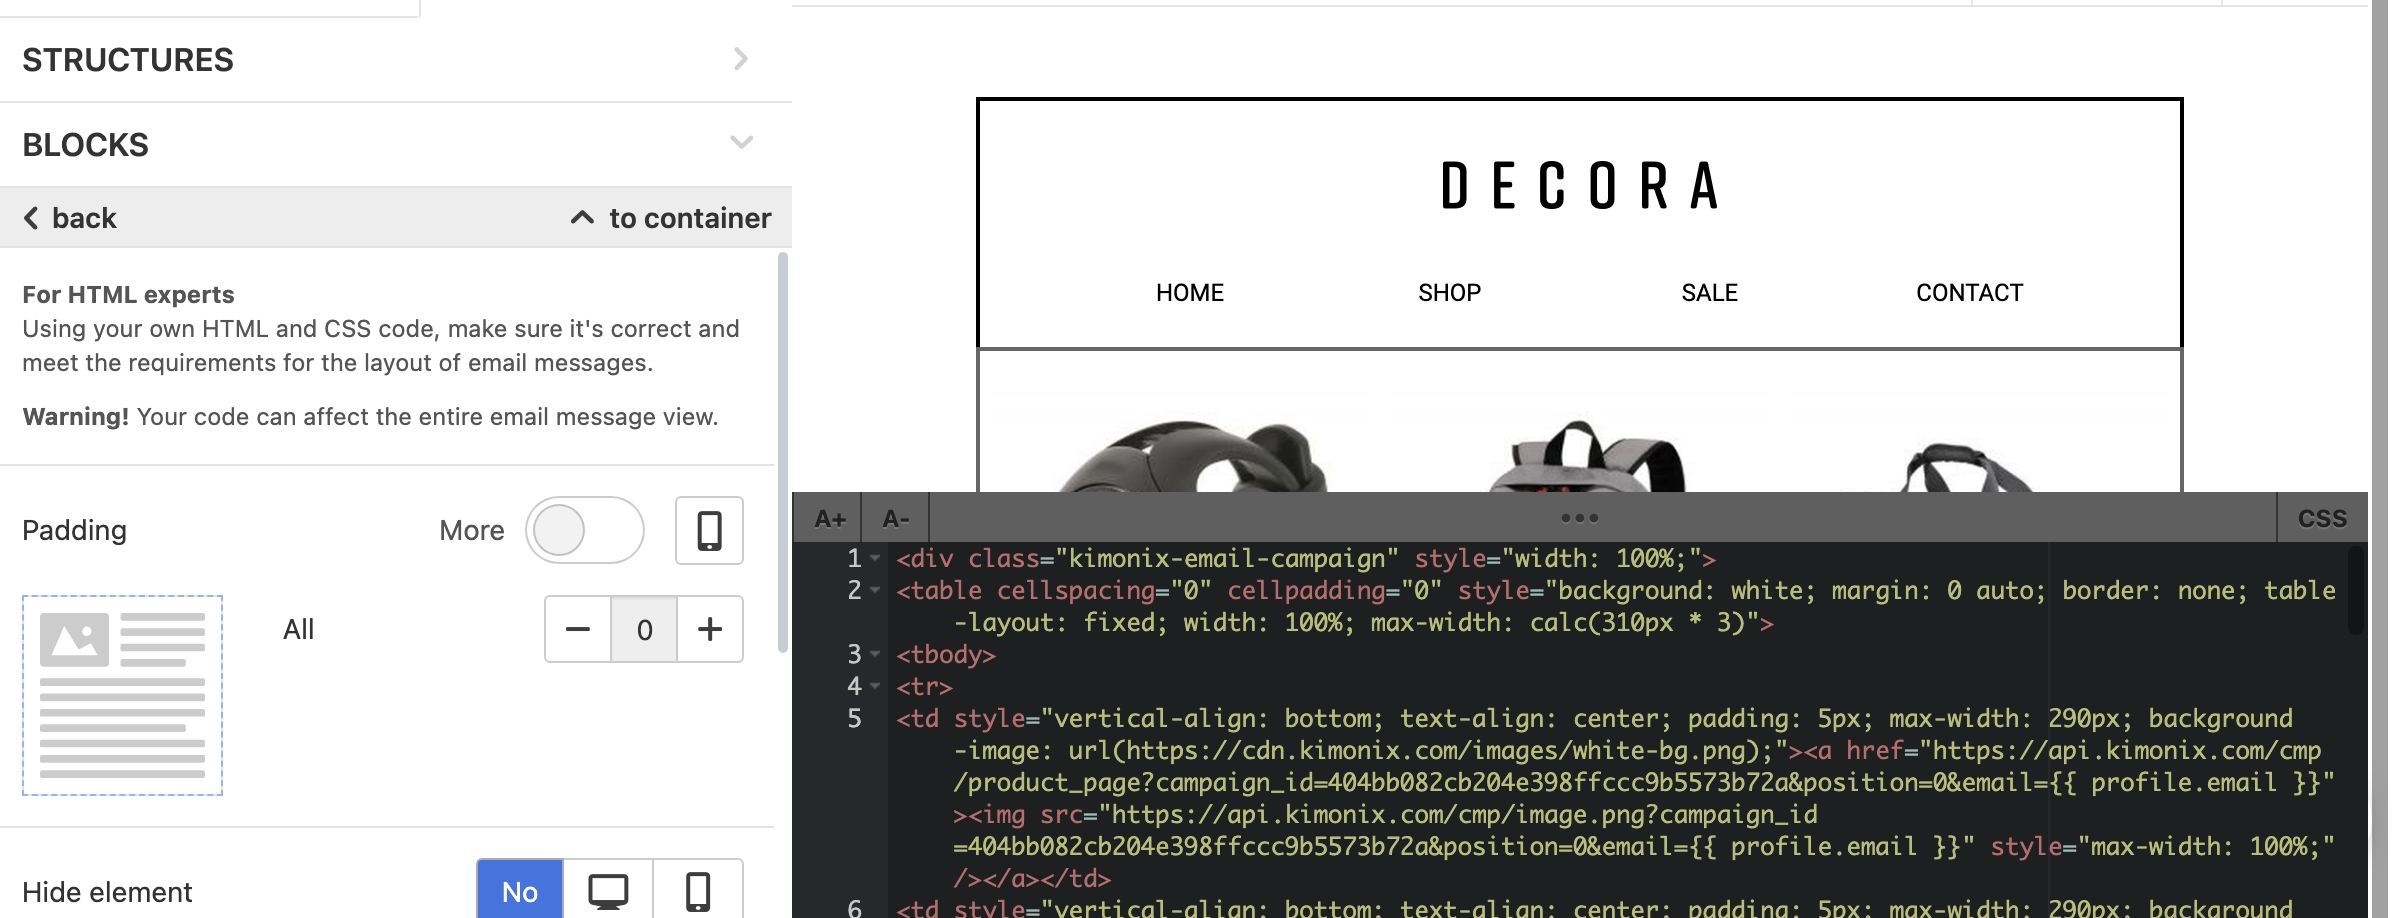
-Add an HTML block to your email preview:
Paste the HTML Code that you've already copied into the HTML block code editor:
Press save & Close and you're all set!