How to set up your first Personalized Email Campaign?
Make your Email Campaigns more converting!

Stacey From Kimonix
Last Update 2 years ago
Email marketing plays a major role in the life of any brand. We believe that personalization in your marketing emails can significantly improve results. We encourage you to read this case study about how one of our customers achieved a Marketing Conversion Rate of 29% by using this tool.
With this tool, you can include a section of personalized clickable products in your email campaigns. The products dynamically change per customer based on their past purchases.
For customers who don't have past purchases yet (therefore no personalization), you will have the flexibility to choose which products to present them as well.
This tool integrates with the following email providers: Yotpo, Klaviyo, Pipedrive, Mailchimp, ActiveCampaign, MailerLite, Omnisend, and Privy.
All email providers that support merge tags (sometimes called personalization tags) are applicable, more information about this can be found in this article.
Pre-requisites:
Start a plan that includes the “Email campaigns” tool.
Make sure your marketing email provider is included in the list above (or supports merge tags).
Step 1: Creating a campaign
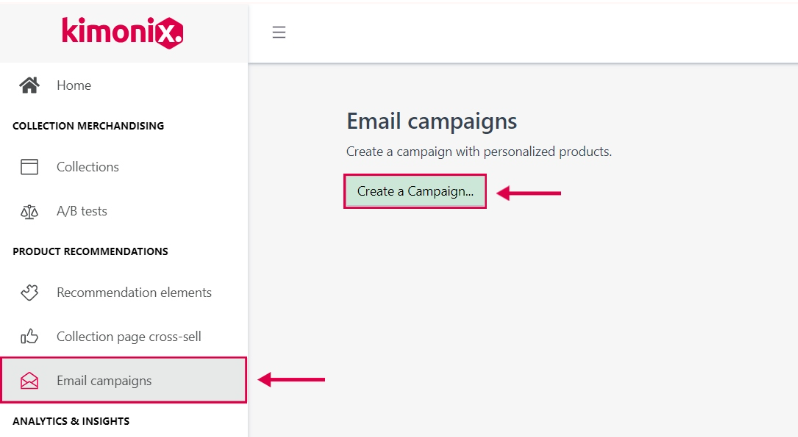
Go to the “Email campaigns” section on the app.
Click “Create a Campaign” to create a new campaign.
Step 2: Select a template
You can choose from 3 available templates:
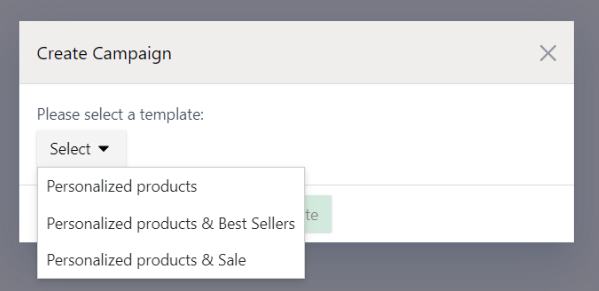
There are three templates you can choose from:
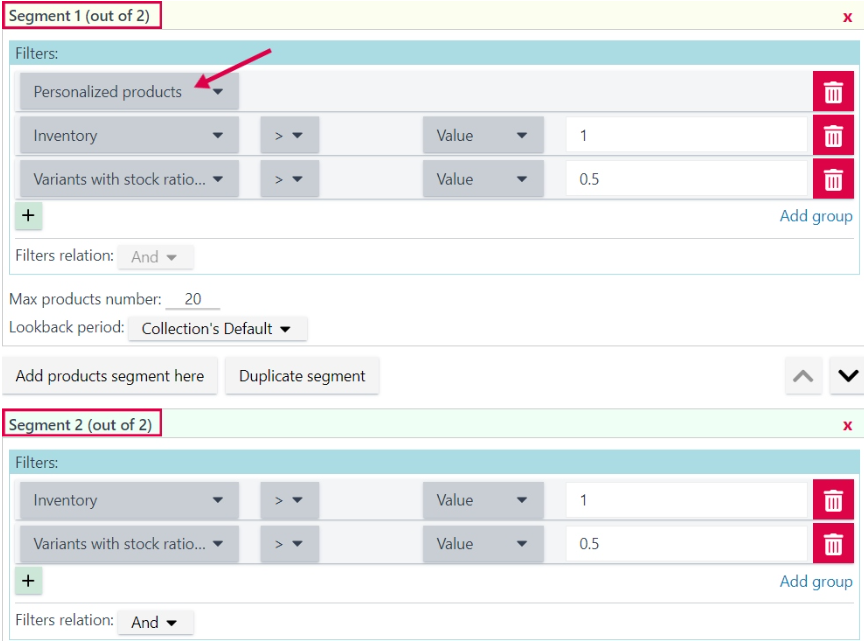
1. Personalized Products:
Segment 1 - Personalized products.
Segment 2 - Choose your own strategy for which products to show to customers without personalization.
2. Personalized Products & Best Sellers:
Segment 1 - Personalized products.
Segment 2 - Best-selling products. It uses the best seller filters, to only include the best-selling products in this segment.
3. Personalized Products & Sale:
Segment 1 - Personalized products.
Segment 2 - Sale Products. It applies the sales filters so that this segment only includes the current "Sale" products.
You can edit each template in any way you like, adding more segments and rules.
Step 3: Editing your campaign
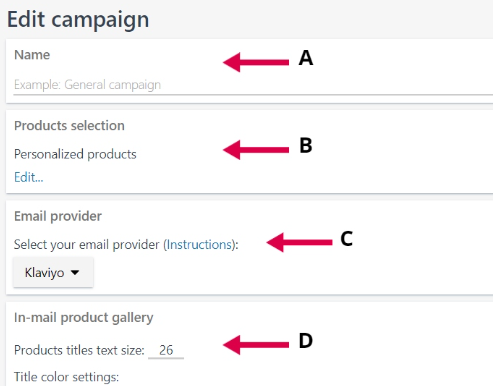
Once you have chosen your template you will be able to:
A. Name your email campaign.
B. Edit the product selection - to choose which products to show in the
campaign.
C. Select your email provider.
D. Edit the layout of your campaign (In-mail product gallery).
B. Products selection: Build your strategy
Once you have named your campaign, click the blue “Edit…” button in the “Products selection” section.
The editing page will open (will look like a collection page). This is where you will have complete flexibility to create your strategy for your campaign based on the app's parameters. You can combine multiple strategies and set the exact one to showcase your customers' most suitable products.
Notice the “Exclude bought products” toggle at the bottom, which gives you the option to be sure customers won't be recommended products that they have already purchased in the past.

When you are happy with your strategy, scroll to the bottom of the page and click "Save".
This tool integrates with the following email providers: Yotpo, Klaviyo, Pipedrive, Mailchimp, ActiveCampaign, MailerLite, Omnisend, and Privy.
If you don’t have an email provider for marketing or it’s none of the above please refer to the following article.
D. In-mail product gallery: edit the layout of your campaign including text, alignments, colors, and more.
Step 4: Preview your campaign
Once you are happy with the element, scroll down to the bottom of the page and click the green “save and preview” button.
You will see a preview of how the segment of products will look.
Click “OK” to continue and get the code.
Step 5: Using your campaign
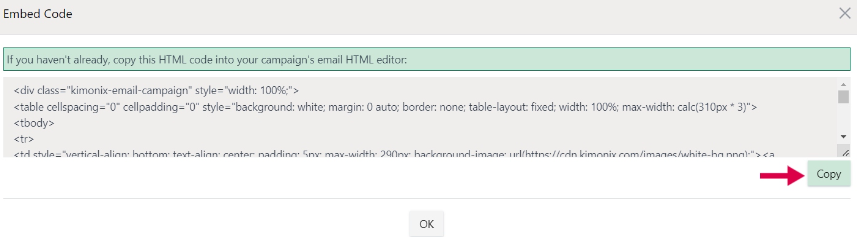
After you click the “OK” button in step 4, you will see a pop-up of the code you need for your email provider’s HTML editor.
Click "Copy" to copy the code.
Paste the code in the email campaign (found in your email provider) that you want to send.
Now you will see the segment of products popping up in your email campaign.
Step 6: Test (optional)
Testing which products a personalized customer gets. You can test this by sending a test marketing email to users with past purchases and to users without purchase history from your company and see which products they see.
Step 7: Campaign Analytics
Once you send the campaign, monitor its performance using the analytics section. This is found on the landing page of the “Email Campaigns”. You can see data such as Sales, Orders, Conversion Rate, and more.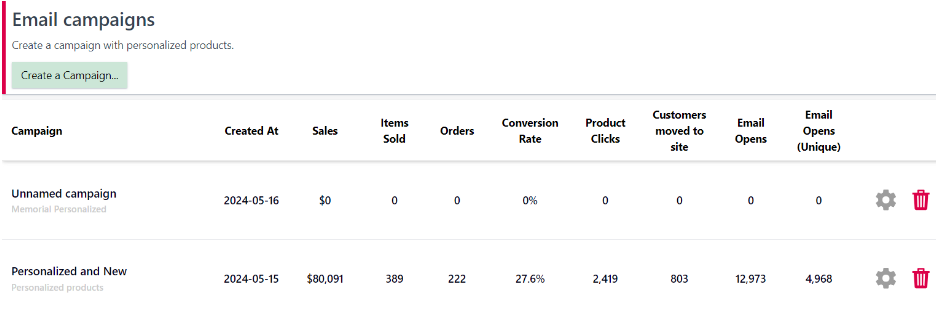
Congratulations, your email campaign is live and is ready to boost your profits!
Have any feature requests? Need our help?
We are here → Message us directly through this chat link.